
EMF recordings can be added as an evidence type within SP Investigator. There are two ways of recording EMF: either through adding a manual entry, or through automatic recording, storing a bar chart of values, and optionally recording audio at the same time.
Important EMF Info
Note that it is not true EMF being recorded by SP Investigator, as this is not available on the phone. However, it reads spikes in the phone’s built in magnetometer. It is best to keep the phone still and on a flat surface while recording, to avoid potential false positives.
Manually Adding EMF Info
To add a manual EMF reading, click the + icon within the investigation details screen, select EMF Reading and then choose Manual Entry.
The EMF entry screen will appear.

Optionally set the location of the reading in the location picker at the top of the screen, then set the date and time of the reading, if it’s different to the current date / time.
Enter the value of the reading, and then press the tick icon to save the evidence.
EMF Reading Differences
If a base reading has been added against the location specified, that is displayed on the screen as well, and the icon colour is updated depending on your new value. This same comparison is also displayed within the timeline previews for the EMF readings.

Recording EMF
To automatically record the “EMF” within the app, click the + icon within the investigation details screen, select EMF Reading and then choose Recording. The app will calibrate the current readings before you are able to record.
Once ready, press the chart icon on the left-hand side to record just the fluctuations, and the microphone icon on the right-hand side if you want to record audio as well, for example if you are calling out questions and want to record when fluctuations occur.
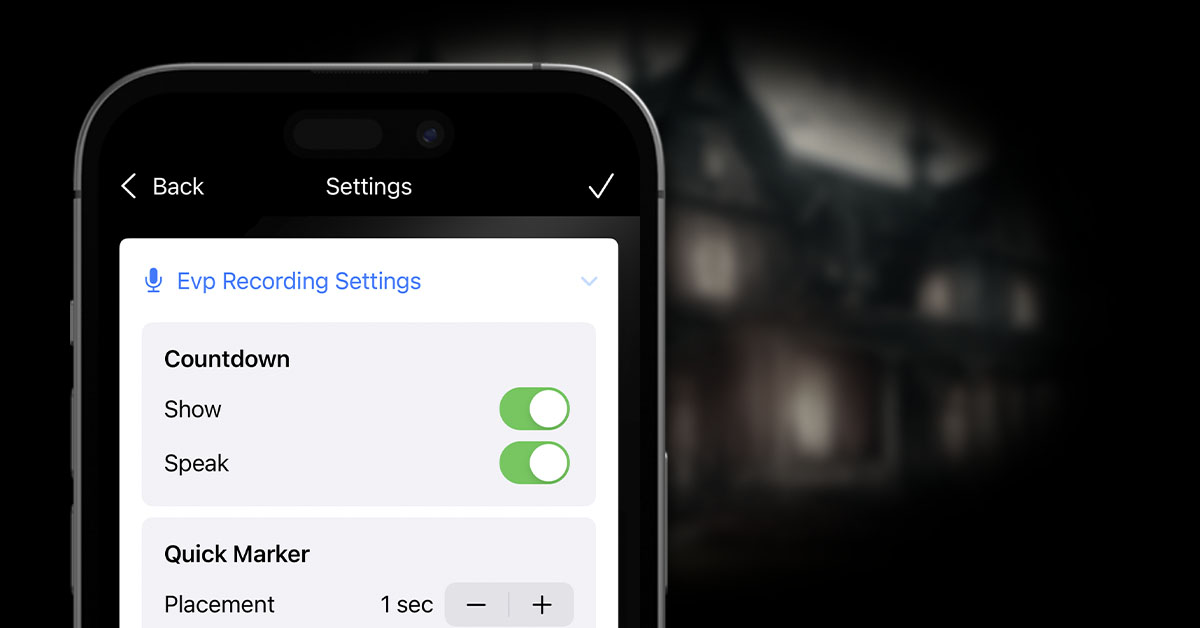
If the settings are set up to include the EMF countdown, the countdown will be spoken and/or shown at the start of the recording. You can change this by clicking on the settings icon on the EMF recording screen.

Playing Back EMF Audio Recordings
If you have recorded audio alongside your EMF chart, clicking back into the evidence from the timeline will allow you to listen back to the recording. The EMF chart will appear as well, with each bar lit up as the recording progresses to playback, allowing you to near-enough marry up any fluctuations with the sound that was recorded.