Creating Your First Investigation
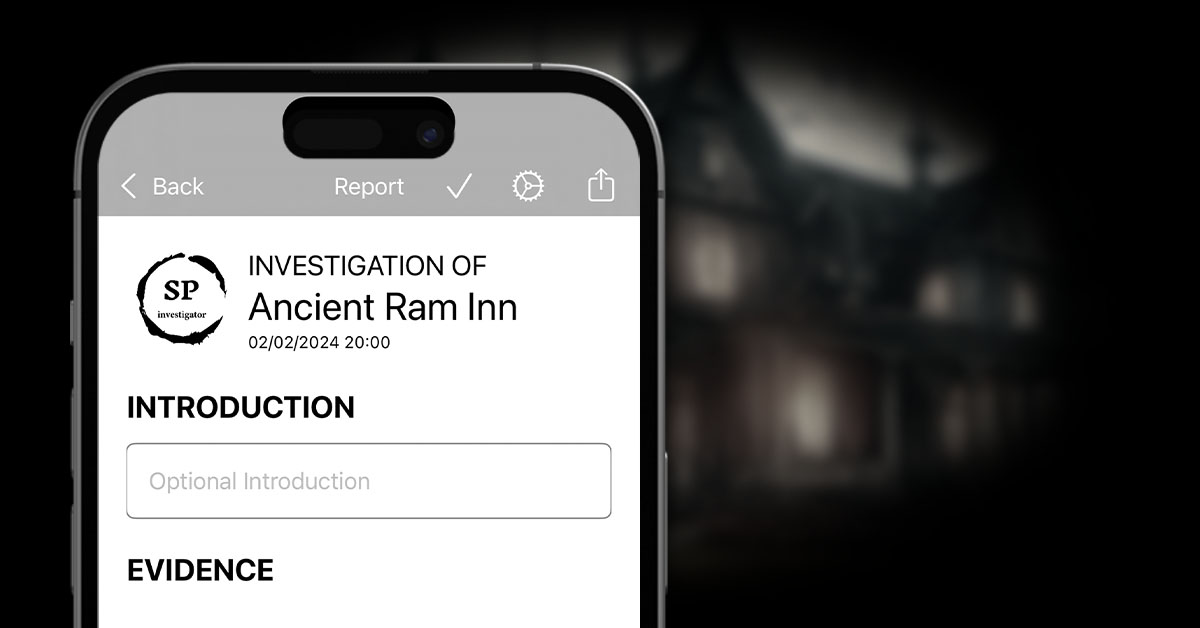
Investigations are at the heart of everything in the SP Investigator app.
When you first open the app, you’re presented with the Investigations screen.

Click the + button at the bottom of the screen to open the Investigation Details screen to create a new Investigation. On opening this screen, you may be presented with a request to access your location. This is so that the screen can pinpoint your location and set the map view correctly to where you are.

Basic Details & Map
From here, you must, as a minimum select the start date and time of the investigation and enter a name for where the investigation is taking place.
If you haven’t allowed location access, or need to change the location, click the search button to look up the place you are investigating. A list of possible options will be displayed, from which you can select the most accurate result, and the map will be updated as required.

Note that not every place will be named correctly, due to map limitations. If you can’t find it, the best thing to do is go to the location with location access enabled and click the bullseye icon on the map to reset the map to your current location. Alternatively, search for a location very close to your investigation, then reset the place name to the actual name you want.
Investigation Featured Image
You can set a featured image to be the banner image in your investigation view, and shown on the investigation card in the main investigations list.
To do this, click on the camera icon at the top of the Investigation Details screen, and select from either Camera or Photo Library in the menu that appears, depending on where you need the image to come from.
You may need to grant permissions for the app to access the camera / photo library if this is your first time using it.

Saving the Investigation
Now you’ve entered all the basic details, click on the + Create button to actually create the investigation.
If you have set a start date / time showing that the investigation has already begun, you will see your first “evidence” item saying the investigation has already started. If it’s in the future, it will show when the investigation is due to begin.
If you allowed Notifications from the app when you first launched the app, and you have set a future date / time for the investigation start, you will receive a notification half an hour before the investigation is due to begin, reminding you to make sure you’re ready!

You can now begin the fun part of logging evidence!


